pfsense - Open Source Firewall and VPN
Open Source Firewall
FEATURES
Firewall and VPN SERVER
This is a guide to install the pfsense software from a VM ova file and update it on VWmware Vshpere.
We need 2 files, 1 is the operating system and the other is the update for it.
First: The VM appliance itself:
“pfSense-2.0.3-RELEASE-amd64.ova”
this is the 64 bit version.
Second: The update “pfSense-Full-Update-2.1.5-RELEASE-amd64.tgz”
1.Open vshpere client
2.Click on “File” at the top left
3.Scroll down to “Deploy OVF Template…”
4.A box will open and you can browse for your OVF template file.
“pfSense-2.0.3-RELEASE-amd64.ova”
5.Go through the configuration settings, it’s very quick
6.Boot the VM
7.You will need to set an IP for both the WAN and LAN NIC cards,
only one NIC is required, you can use two if you wish.
IP examples for either one or two NICS can be WAN (can be internal
IP).
8.WAN:192.168.1.222 LAN:192.168.1.221
9.Once the IP’s are set, you can log into the pfsense web browser
10.Before we do any more configuration we will update the VM
11.From the web page of your pfsense server, we will update it
12.Click on System
13.Scroll down to Firmware
14.Click the “Enable Firmware upload” Button
15.Browse to find the file
pfSense-Full-Update-2.1.5-RELEASE-amd64.tgz
16.It updates very quick, That's it!
CONFIGURE pfSENSE SERVER TO USE THE OpenVPN setup
1.Open the configuration page through your browser, for example; http://192.168.2.222
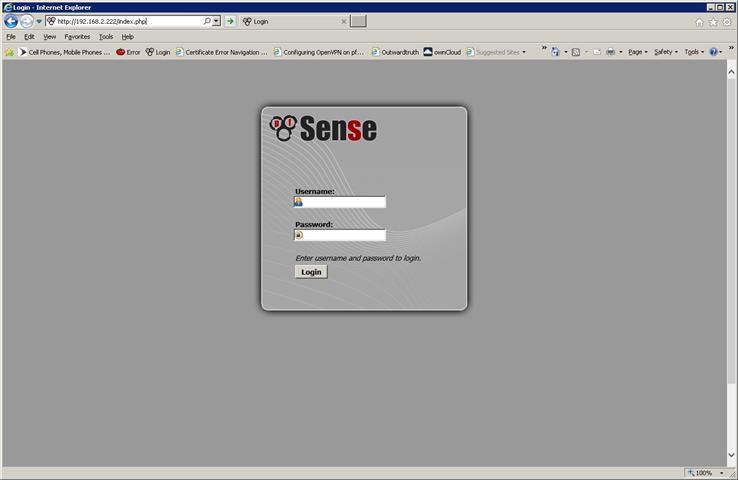 |
2. The default Username is admin and default password is pfsense (you will be asked to change the password).
3. In pfsense, there are four types of VPN connections available, for this tutorial, I will show you OpenVPN.
4. We need to create the OpenVPN server.
5. Go to: VPN scroll down to OpenVPN, the OpenVPN server page is now displayed.
 |
6. Select Wizards, (if you don’t see the Wizards tab, you forgot to UPDATE pfsense.
7. The default of Local User Access is fine, just click the Next button.
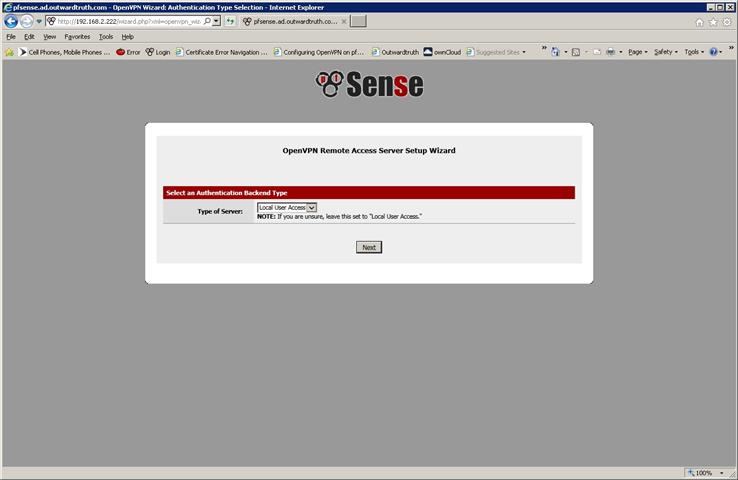 |
8. Creating a new certificate of authority. This serves as the permissions when some has access to the VPN. Make a descriptive name; if you are not sure about the KEY length just leave the default setting. Enter all you information and click add new.
9. Creating a new server certificate. Same configuration as the certificate authority, the only difference is the descriptive name. Give a name you can easily remember then click create new certificate.
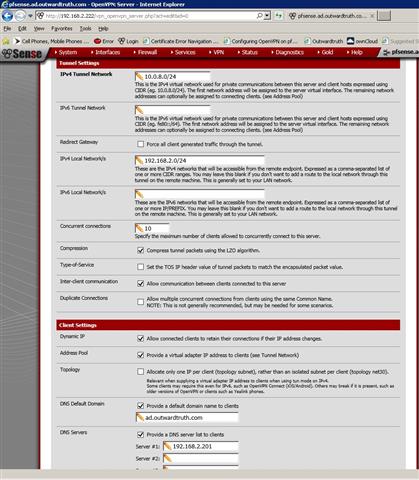
10. Next we need to provide the settings for the OpenVPN server. Setting the Local Port (which will need to be port forwarded from your firewall). Port 1194.
11.We also need to configure the TUNNEL settings for you Internal IP network.
12.In the IPV4 tunnel network, I just used the example IP settings 10.0.8.0/24, you can use what you want thought, for example, 192.168.5.0/24. Just not your network current IP scheme.
13. In the IPv4 Local Network/s (just a bit lower on the age), this is where you want to put your current IP scheme, for me it’s.192.168.2.0/24
14. Concurrent connections: I chose 10
15. Put a check mark in Compression
16. Put a check mark in Inter-client communication
17. DNS Default Domain is not required
18. DNS Servers, put in your current DNS server
NOTE: IF you need to edit these settings later go to VPN, OpenVPN, you will see your current server, click on the “e” for edit, on the right and the page will open and you can now edit it.
 |
DOWNLOAD IT
VMWARE IMAGE BELOW
pfSense-2.0.3-RELEASE-amd64.ova | Official Website
UPDATE FILE BELOW
pfSense-Full-Update-2.1.5-RELEASE-amd64.tgz
PF Sense HELP